
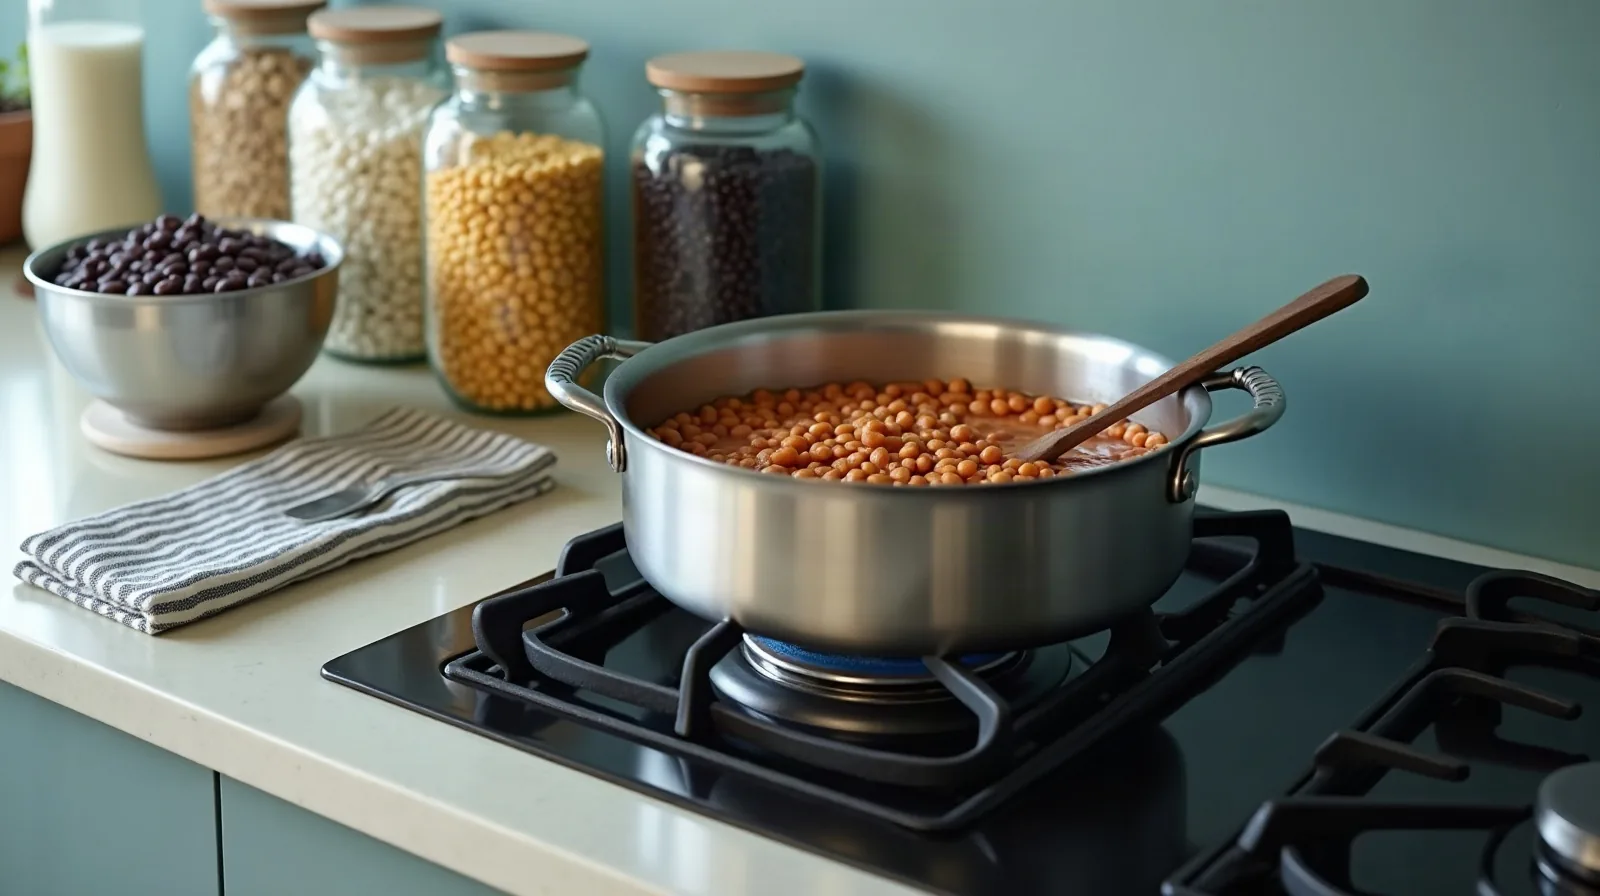
Canned beans are a fine shortcut, but a pot of beans cooked from dry is a different experience: creamy centers, skins that stay intact, and a savory broth that is worth keeping. A pound of dried beans also makes far more food than a can does, for a small fraction of the price. The process sounds fussy, yet it comes down to a few steady habits and a bit of waiting.
Sort and Rinse First
Dry beans are an agricultural product, so a bag can hold the occasional pebble, bit of dirt, or shriveled bean. Spread the beans on a light-colored plate or rimmed sheet and scan them quickly, pulling out anything that is not a bean. Then rinse them in a colander under cold water. This takes two minutes and saves a cracked tooth or a gritty pot.
To Soak or Not to Soak
Soaking is optional, and each choice has a trade-off. A soak shortens the simmer, helps the beans cook more evenly, and many cooks find it makes the beans a little easier to digest. Skipping it works too, as long as there is time for a longer simmer. Either way, older beans take longer than fresh ones, so a bag that has sat in a cupboard for years may never get fully tender.
- Overnight soak — cover the beans with several inches of cold water and leave them for 8 to 12 hours, then drain and rinse.
- Quick soak — boil for a few minutes, remove from the heat, cover, and rest for about an hour before draining.
- Salted soak — a spoonful of salt in the soaking water helps the skins soften and season the beans from the inside.
- No soak — go straight to the pot and plan for an extra hour or more of simmering.
Simmer Gently Until Creamy
Put the drained beans in a heavy pot and cover them with fresh water by about two inches. Add an onion half, a couple of garlic cloves, and a bay leaf if there are any on hand. Bring the pot to a boil, then drop the heat so the water barely bubbles. A hard, rolling boil breaks the skins and leaves the insides unevenly cooked, while a lazy simmer keeps them whole and tender.
Salt, Acid, and the Doneness Test
The old rule that salt toughens beans has been tested and mostly debunked; salting the pot early, or at least halfway through, gives better-seasoned beans. Acidic ingredients are the real culprit. Tomatoes, vinegar, and citrus slow softening, so add them only once the beans are tender.
Start tasting after about 45 minutes for soaked beans, and much later for unsoaked or older ones. Done means a bean mashes easily against the roof of the mouth with no chalky center. Keep the water topped up so the beans stay submerged. One safety note: kidney beans and a few others contain a natural compound that can make people ill when undercooked, so they need a full, rolling boil for about ten minutes before the gentle simmer. Slow cookers may not get hot enough to handle this step on their own.
Let the beans cool in their cooking liquid, which keeps them plump and flavorful. Refrigerate in the liquid for up to about five days, or freeze in portions with some broth for several months. A pound of dry beans makes roughly the equivalent of four to five cans, ready for chili, soups, salads, and rice bowls.