A faucet that drips once a second does not look like much, yet it can add up to thousands of gallons over a year, and the sound is hard to ignore at night. The good news is that the cause is usually small and cheap: a worn rubber washer, a tired seal, or a cartridge that has lost its grip. With the water shut off and a few basic tools, many people fix it in under an hour.
Why a Faucet Drips
Inside every faucet, a small rubber or ceramic part presses against a seat to stop the flow. Years of opening and closing wear that part down, and mineral buildup roughens the seat it presses against. Once the seal no longer closes fully, water squeezes past and forms a drip at the spout. A leak around the base of the handle is a different clue: it usually points to a worn O-ring rather than the main seal. Knowing which type you have saves time, so look at how the handle moves before taking anything apart.
Match the Fix to the Faucet
Most home faucets fall into a few families, and each one wears out in its own way:
- Two-handle compression faucets. A rubber washer at the end of each stem wears flat. Replacing the washer, and often a small O-ring, is the whole repair.
- Single-lever cartridge faucets. A plastic or brass cartridge controls flow and temperature. The cartridge or its seals are replaced as a unit.
- Ball faucets. A single lever sits on a rotating ball with springs and seats. A repair kit usually replaces all the small parts at once.
- Ceramic disc faucets. Two polished discs slide against each other. Drips are often cured by cleaning the inlet seals or swapping the cartridge.
The Repair Sequence
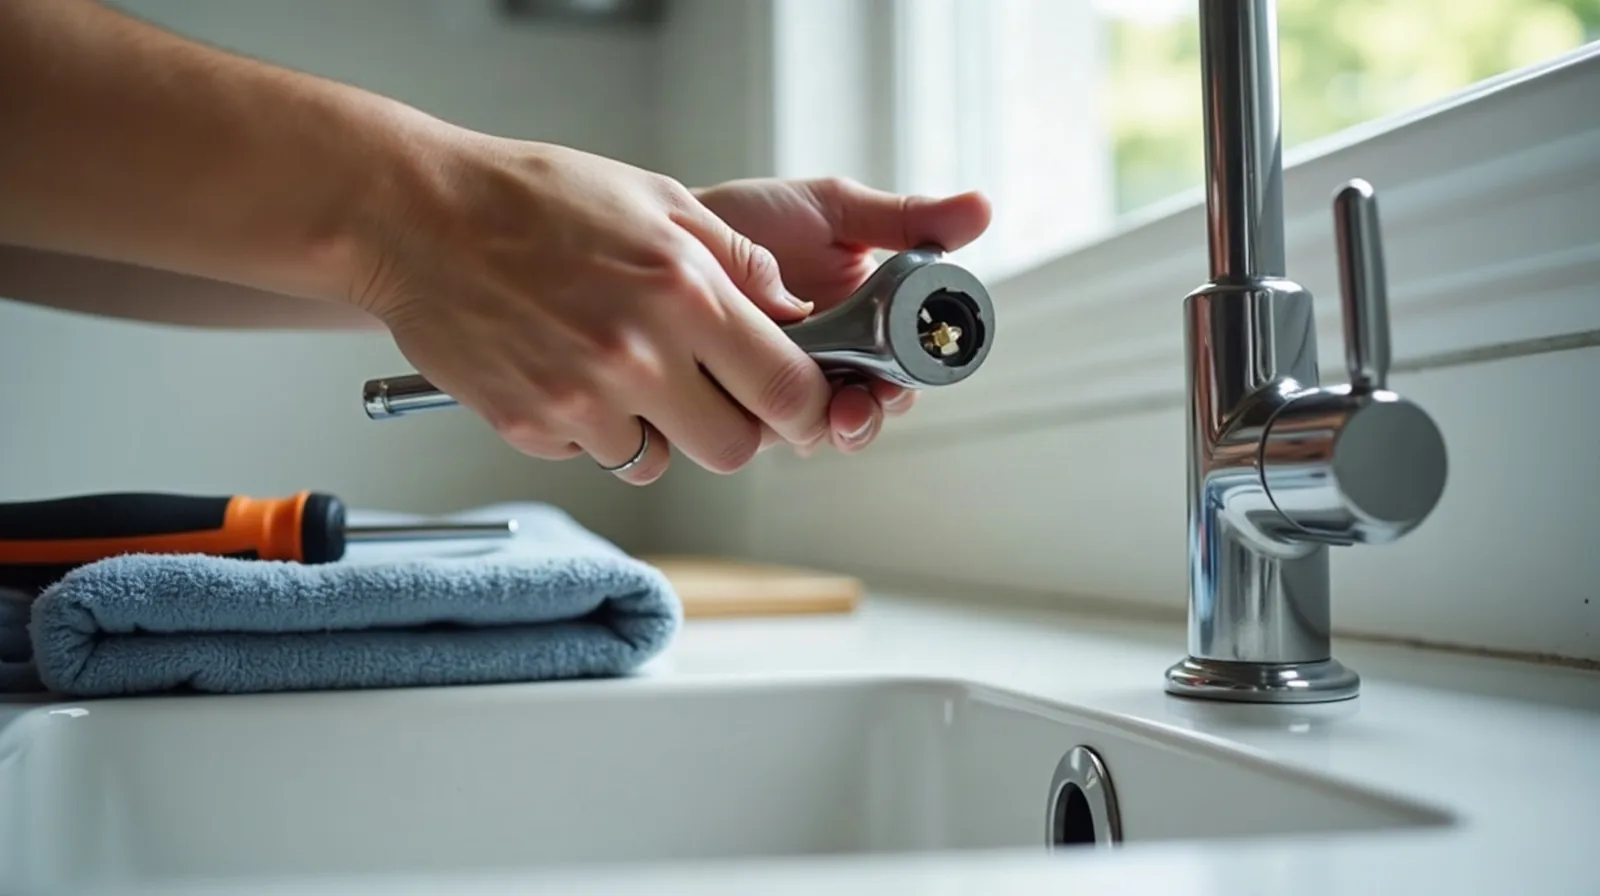
Start by closing the shutoff valves under the sink, turning them clockwise until snug, then open the faucet to release pressure. Put a rag or a stopper in the drain so no small screw is lost. Pry off any decorative cap, remove the handle screw, and lift the handle away. Take a quick photo at each step so reassembly is easy, and lay the parts out in order on a towel.
Unscrew the retaining nut with an adjustable wrench, wrapping the jaws in tape or cloth to protect the finish, and pull out the stem or cartridge. Examine the washer, seals and seat. Bring the old part to a hardware store so the replacement matches exactly, since sizes vary more than you might expect. Wipe away mineral deposits with a cloth and a little white vinegar, fit the new part, and reassemble in reverse order. Turn the water back on slowly and check for drips for a few minutes.
When to Stop and Call a Professional
Some jobs are worth handing over. If the shutoff valves will not close fully, the nuts are badly corroded or stuck, or the leak persists after fitting new parts, a worn seat or damaged pipe may be the real problem. Water that appears under the sink or inside the wall is also a reason to call a licensed plumber promptly. Check the manufacturer's instructions for your model, because some faucets have specific parts and procedures, and a qualified professional can save an old fixture from a costly mistake.