
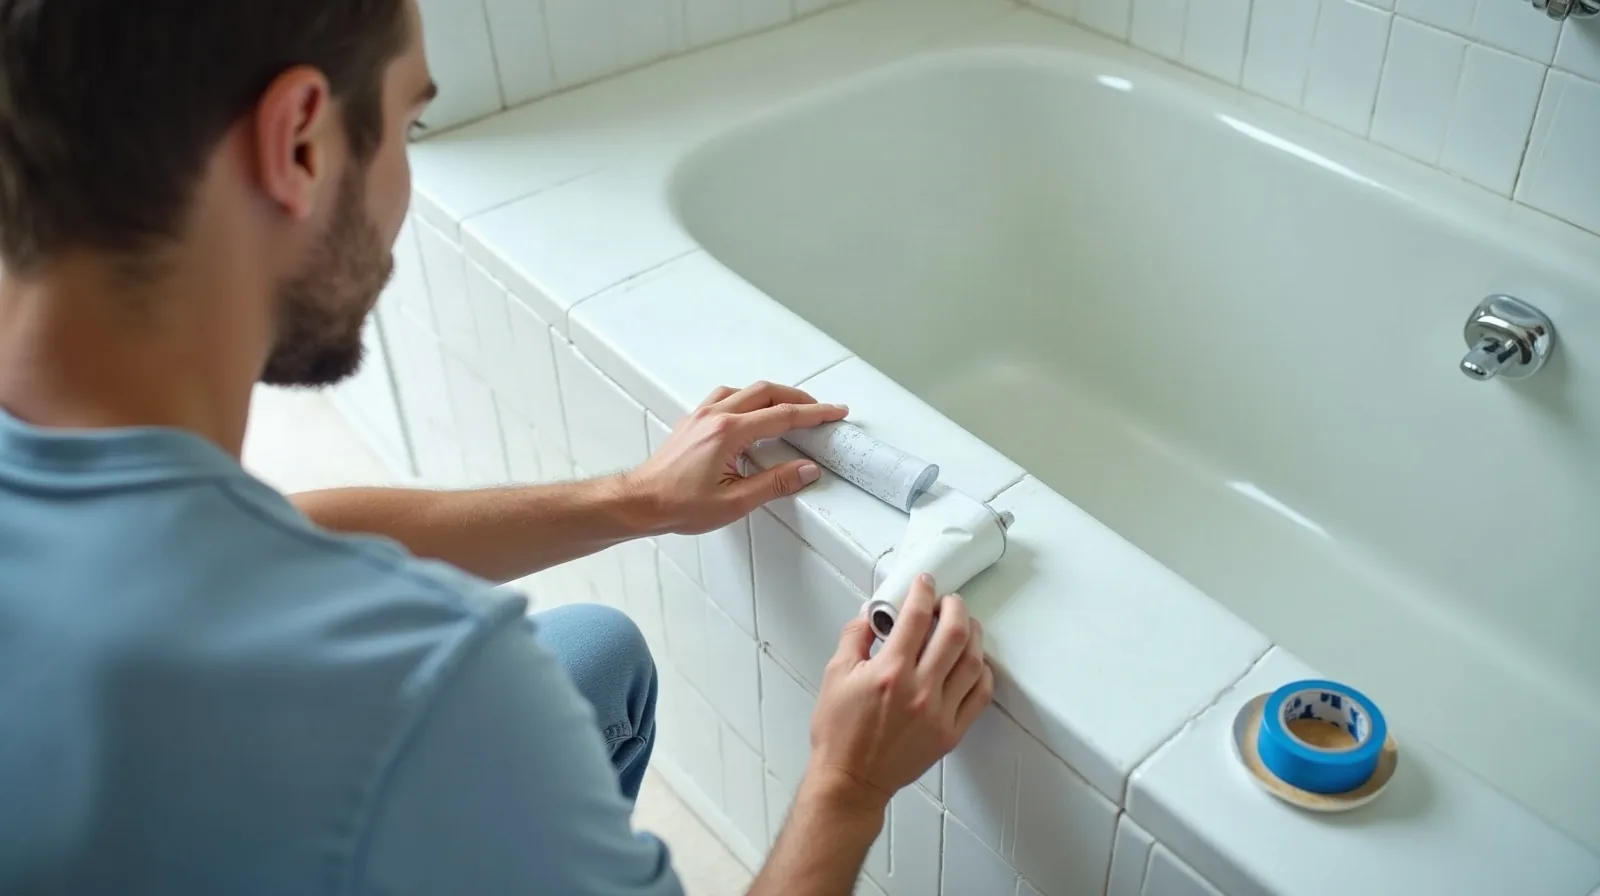
The thin line of sealant where a tub meets the wall does more work than it looks like. It is the last barrier between daily shower splash and the wall cavity behind it. When that bead cracks, peels, or turns black with mildew, water starts slipping behind it, and a small cosmetic problem can become soft drywall or rotted framing. The good news is that re-caulking is one of the most approachable repairs in a house, and a careful afternoon gives a result that looks professional.
Signs the Seam Is Done
Caulk does not last forever. It shrinks, loses flexibility, and slowly lets go of the surface, usually somewhere between five and ten years in a busy bathroom. Look for gaps or hairline cracks along the seam, edges that curl away from the tub, and dark spots that scrubbing will not lift. Pressing a fingertip along the line is a good test, since a bead that feels hard, brittle, or loose is finished. Mildew that only sits on the surface can often be cleaned, but staining that runs through the full thickness of the bead means the whole strip should come out.
Gather the Few Tools Involved
Nothing here is specialized, and most of it fits in a small bucket.
- Silicone sealant made for kitchens and baths — look for a mildew-resistant tube, since this product stays flexible where acrylic blends can crack.
- A caulk gun — a basic dripless one gives the steadiest bead.
- A plastic scraper or caulk removal tool — plastic protects the tub surface better than metal.
- Painter’s tape — the secret to two perfectly straight edges.
- Rubbing alcohol and clean rags — for degreasing the seam before sealing.
- Disposable gloves and a spray bottle of soapy water — for tooling the bead smooth.
Remove the Old Bead and Prep the Seam
Start by slicing along the top and bottom edges of the old caulk with a utility knife, then pry the strip loose with the scraper. Stubborn leftovers can be softened with a caulk remover product, following its label, and then scraped away. Any trace of old silicone left behind keeps the new bead from bonding, so take the time to get the seam back to bare surfaces.
Next, clean the gap with rubbing alcohol and let it dry completely. Moisture trapped under a fresh bead is the main reason caulk fails early, so plan for several hours of dry time, or leave the bathroom fan running overnight if the seam still feels damp. Ventilate while using alcohol and removers, and keep the room fan on during the job.
Lay a Smooth Bead and Let It Cure
Run painter’s tape along the wall and the tub, leaving a gap about as wide as the bead should be. Cut the nozzle at a slight angle, with an opening no wider than the gap, and fill the tub with a few inches of water first. The weight of the water pulls the tub down to its normal position, so the seam stays tight rather than splitting later when the tub is used.
Squeeze a single, steady, unbroken line, moving at an even pace instead of stopping and starting. Mist a gloved fingertip with soapy water and drag it once along the bead to press it into the gap and shape a gentle concave curve. Then pull the tape away right away, while the sealant is still wet, peeling it back on itself. Waiting lets a skin form and tears ragged edges.
Curing takes longer than drying. Most silicone products ask for at least 24 hours before water touches them, and the label on the tube has the final word. Keep the tub dry, leave the fan running, and drain the water carefully only once the time is up. If the old caulk turns out to hide soft, spongy wall material, stop and bring in a qualified contractor, since that damage needs more than a new bead.