
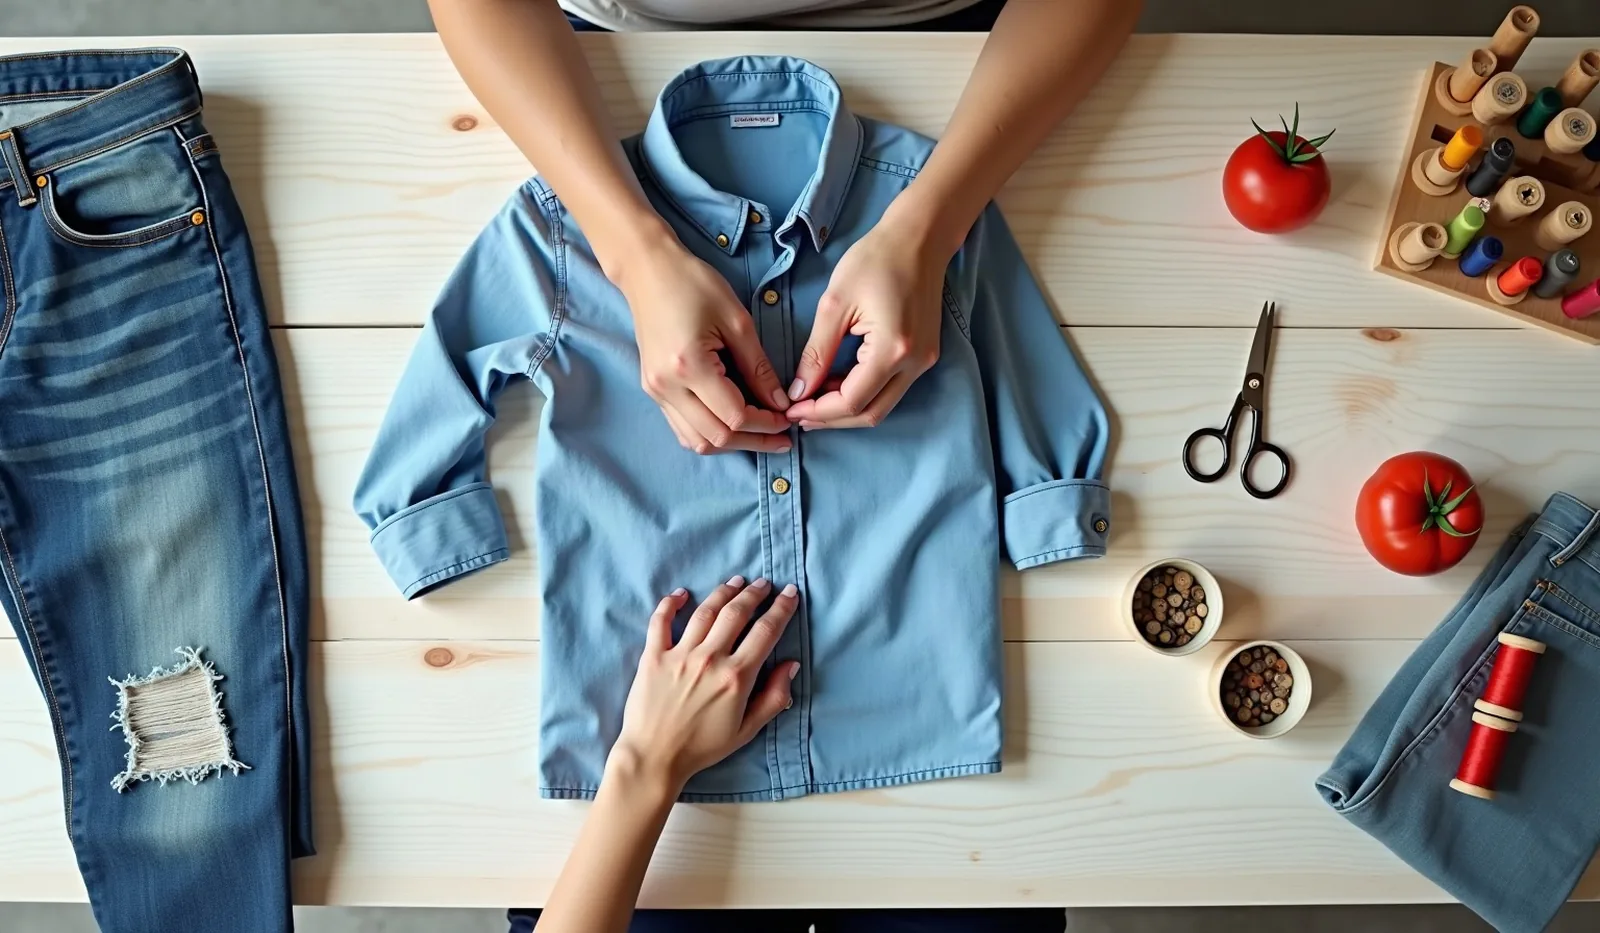
Most clothes do not leave the closet because they wore out. They leave because of a button that came loose, a seam that opened, or a hem that dropped, small problems that sat in a pile for months. Mending is one of the quietest money-savers there is, and it is far easier than it looks. A handful of stitches, a few minutes, and a shirt that felt finished is back in the rotation.
Start With a Small Mending Kit
Mending stalls when supplies are hard to find, so keep everything in one tin or pouch near where clothes get folded. The essentials are short and cheap:
- Needles in two sizes. A medium needle for everyday fabric and a sturdier one for denim and canvas.
- Thread in neutral colors. Black, white, gray, navy, and beige cover most repairs, and a close match matters more than a perfect one.
- Small sharp scissors. They trim threads cleanly without nipping the fabric.
- Spare buttons. Many garments ship with an extra, and the tin is a good place to collect them.
- Safety pins and a thimble. Pins hold a hem in place, and a thimble saves a sore fingertip on thick seams.
- Iron-on or sew-on patches. A few denim and cotton squares handle knees and elbows.
Decide Whether a Piece Is Worth Mending
Before threading a needle, look at the fabric around the flaw. If it is sturdy and the garment still fits and gets worn, a repair is almost always worth the time. If the cloth beside a tear is thin, see-through when held up to a window, or frayed in several places, a stitch will simply hold a weak spot in place until the next one gives way. In that case a patch from the inside gives the area some backing, and some pieces are better retired to the rag bag.
It also helps to ask how often the garment is actually worn. A well-loved sweater with one small hole deserves the effort. A shirt that was never a favorite may not, and that is a perfectly reasonable answer.
Three Stitches Cover Most Repairs
A tiny set of techniques handles the vast majority of everyday damage. The first is sewing on a button: stitch through the holes four to six times, wrap the thread around the base to form a short stem, and knot it on the underside. A stem leaves room for the fabric to close smoothly instead of pulling tight.
The second is the running stitch, which closes an open seam. Work in small, even stitches along the original seam line, then double back to lock the thread. The third is the whipstitch or blind stitch, which fixes a dropped hem by catching a few threads of the outer fabric and hiding the rest inside the fold. For a small hole, a darning patch of woven stitches, or a patch from inside the garment, restores strength without a visible gap.
Good light and a calm surface do more than any technique. Work at a table, press the area flat first, and use a thread length no longer than the distance from fingertip to elbow so it does not knot.
Make Mending a Habit, Not a Backlog
The mending pile grows because every repair waits for a block of free time that never arrives. A better approach is to batch. Keep a basket for items that need attention, and once a month pull it out during a show or a phone call. Most fixes take under ten minutes, and ten fixes in an evening feels like a small wardrobe refresh.
Some repairs are worth handing to a professional tailor, such as reworking a lined jacket, repairing leather, or resizing a formal garment. Those cost more than a thread and a needle, but still cost far less than replacing a good piece, and they help clothes last years longer.